
Reviewed · AUCKLAND CITY SIGHTSEEING
Discover Auckland City Tour: The City of Sails
Volcano views in three hours—yes, really. This Auckland City Tour mixes waterfront sightlines, quick neighborhood driving, and panoramic stops on volcanic cones, plus a Māori heritage moment at MJ Savage Memorial Park.
I like the practical setup: hotel pickup and return drop-off in Auckland City Center means you don’t waste your limited time wrangling buses. I also like that the big stops are timed well for photos, with free admission viewpoints at MJ Savage Memorial Park, One Tree Hill, and Mount Eden.
The one drawback is simple: at about 3 hours, this is a highlights sampler, not a deep-dive into museums or one neighborhood for a long stretch. You’ll want to plan extra time if you’re the type who hates leaving places before you’ve had your second coffee.
In This Review
- Key things to know before you go
- A 3-hour Auckland highlights run with hotel pickup
- Waterfront and Auckland Harbour Bridge: why this route matters
- Mission Bay suburbs: sandy shoreline without the long commute
- MJ Savage Memorial Park: Māori heritage and photo time with free entry
- One Tree Hill (Maungakiekie): 360° views in a tight window
- Mount Eden: the standout volcanic cone stop
- Price and logistics: is $108.60 good value for 3 hours?
- What the included stops feel like in real life
- Guides, pacing, and who you’ll be traveling with
- Weather and photo strategy for Auckland’s volcanic viewpoints
- Should you book Discover Auckland City Tour: The City of Sails?
- FAQ
- How long is the Auckland City Tour?
- Does the tour include hotel pickup and drop-off?
- What does the price include?
- Is lunch included?
- What languages is the tour offered in?
- How many people are in the group?
Key things to know before you go
- Hotel pickup and return in the city center keeps the pacing easy.
- Bilingual guiding in English and Arabic helps you follow the story clearly.
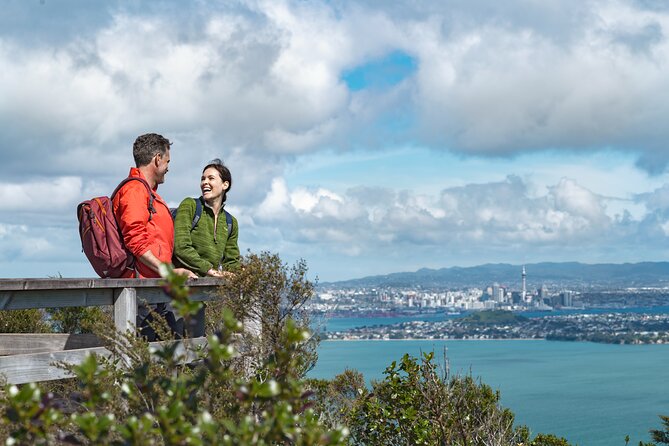
- Volcanic cone viewpoints at Mount Eden and One Tree Hill are a fast way to understand Auckland.
- MJ Savage Memorial Park adds a Māori heritage stop with free photo time.
- Snacks, bottled water, and onboard WiFi keep you comfortable during the ride.
- Small-group feel with a maximum of 19 travelers (and a minimum of 4 to run).
A 3-hour Auckland highlights run with hotel pickup
This tour is built for one thing: getting your bearings fast. You start at 9:00 am with hotel pickup from Auckland central, then you’re back at the end of the tour near the meeting point. For a city that can feel spread out, that kind of front-to-back convenience matters.
At about 3 hours, you’ll cover a lot of Auckland’s identity in a tight loop: coast, skyline, and volcano viewpoints. The vehicle is air-conditioned and includes WiFi on board, plus bottled water and snacks. That’s a small detail, but it helps when you’re hopping between viewpoint spots and want to stay energized.
One more practical note: this tour is offered in English and Arabic, so you can expect the guiding to stay accessible rather than just being “drive-by sightseeing.” You’ll also get all taxes and entry tickets included, which reduces the usual last-minute math and ticket-buying stress.
More ways to see Auckland in a day
- Waiheke Island: Ferry & Hop-On Hop-Off Explorer Bus Tickets
★ 4.6 · 3,311 reviews - Half-day Discover Auckland City Sightseeing Tour
★ 5.0 · 1,080 reviews - Auckland: Hop-On Hop-Off Explorer Bus Ticket
★ 4.4 · 1,064 reviews - Auckland Scenic Half-Day City Sightseeing Tour
★ 4.8 · 532 reviews
Waterfront and Auckland Harbour Bridge: why this route matters
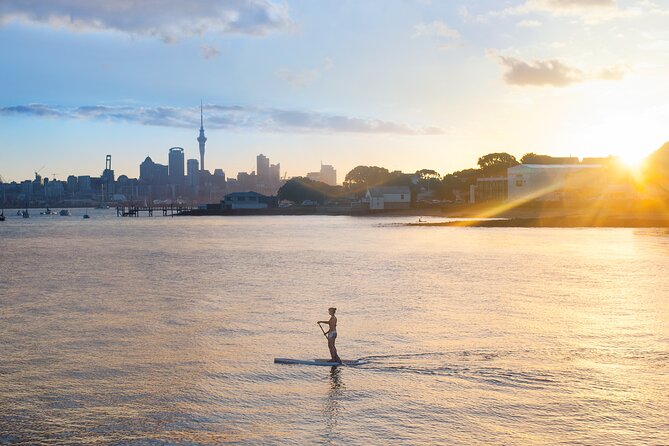
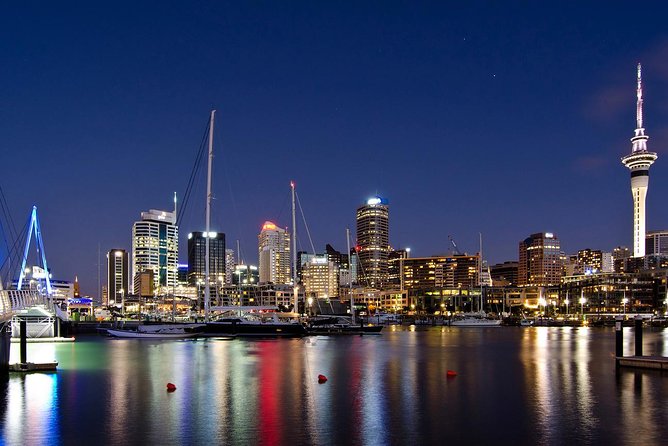
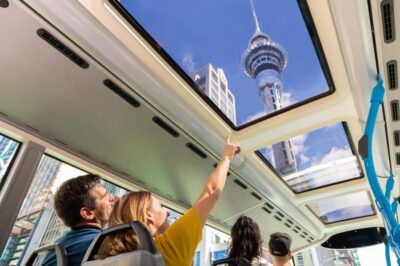
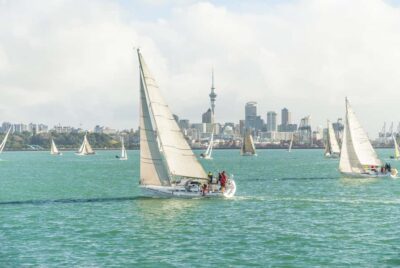
Auckland is famous for its harbor, and the tour uses the waterfront to set the mood early. You’ll travel along the Auckland waterfront with chances to look out for the iconic Auckland Harbour Bridge and get skyline views.
Here’s why I like this approach: you get context before you go up. From street level, you can see where the city sits, how the water shapes the downtown, and how the viewpoints later make sense. After that, Mounts and cones become more than scenic stops—they’re explainers.
You should also keep your camera ready at least for the ride moments around the bridge and skyline. Not every angle is a pull-over-and-walk situation, so the tour’s best photo chances are the times when the vehicle slows down near viewpoints and lookout points.
Mission Bay suburbs: sandy shoreline without the long commute
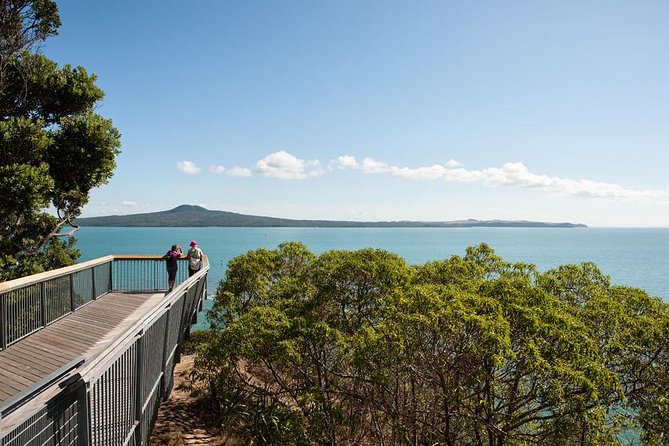
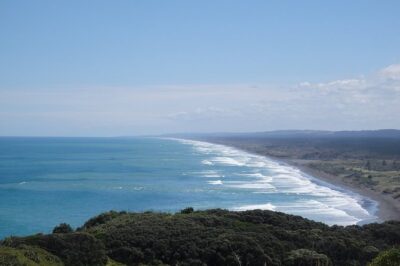
Next, you’ll drive past one of New Zealand’s seaside suburbs and spend time looking at the kind of scenery Auckland does well—close-to-city sandy beaches. Mission Bay is the named area here, and it’s a great contrast after waterfront and skyline views.
This part works best if you want a quick “feel” for Auckland’s coastal lifestyle without turning your day into a bus-and-ferry marathon. The tour doesn’t try to make you pick one beach or spend hours hiking the shoreline. Instead, it gives you the sense of where locals hang out and how the coast frames daily life.
If you’re the type who loves casual strolls, use this moment as a warm-up. Then, when you reach the volcanic viewpoints, you’ll understand why so many people in Auckland treat “getting outside” as part of the city’s routine.
MJ Savage Memorial Park: Māori heritage and photo time with free entry
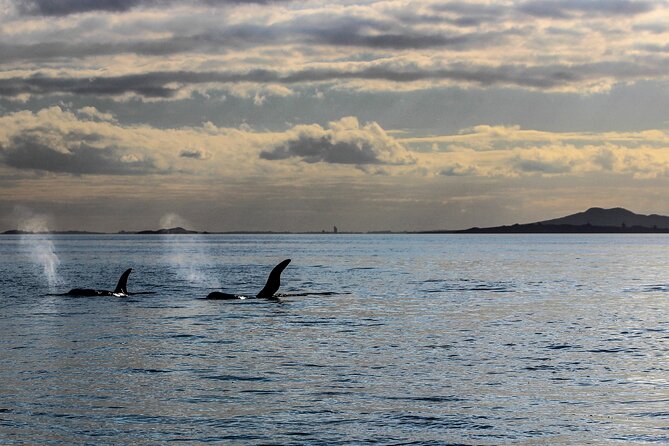
MJ Savage Memorial Park is the heritage stop on the route, and it’s scheduled for about 30 minutes. It’s also free admission, which is always a win on a paid tour.
The key point is what you get up top: a broad view over Auckland City, plus learning about the history of Māori people at this location. You’re not just looking at scenery here—you’re getting a cultural anchor tied to the land and its meaning.
From a practical perspective, memorial parks can be a little slower because you’re reading, listening, and looking at details. This one fits the tour well because it’s not competing with a long walk. You’re already set up with the vehicle and timing, so you can spend your short window taking in both the view and the context.
Photo tip: aim for a mix of shots—one wide skyline image, then a few closer frames that capture the mood of the place. The time block is long enough for that without rushing.
One Tree Hill (Maungakiekie): 360° views in a tight window
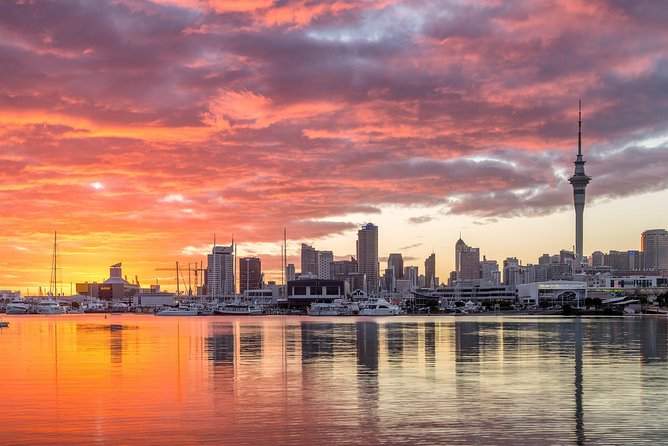
One Tree Hill, also called Maungakiekie, is another volcanic summit stop with 360 views. Like MJ Savage Memorial Park, it’s about 30 minutes and admission-free.
This is the stop I think many people will remember most, because a true 360 outlook changes how you see the city. Auckland’s geography makes more sense when you can rotate your head and spot the water and city patterns from above. You go from “I’ve seen photos” to “I get it.”
The short time at the top is important. You won’t be stuck for half a day, and you’ll still have energy for the final climb viewpoint at Mount Eden. But you should also plan to be efficient. If you want the perfect shot at sunrise or in perfect light, this 30-minute slot won’t be a slow-linger situation.
If you’re traveling with someone who gets tired on stairs or uneven ground, this stop is still worth considering because it’s viewpoint-focused rather than a long multi-stop hike. The tour’s overall structure helps keep you from turning the day into a forced endurance event.
Mount Eden: the standout volcanic cone stop
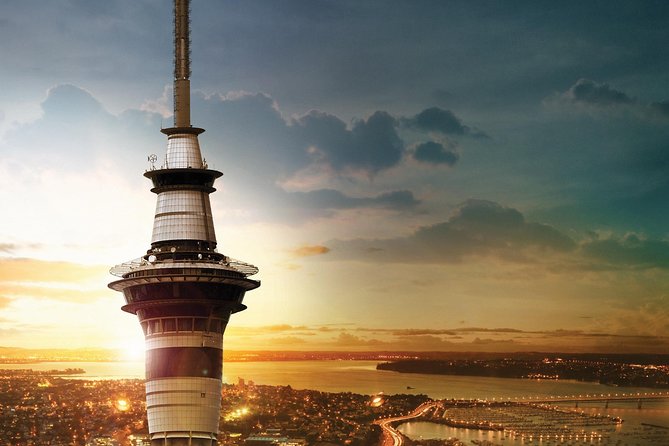
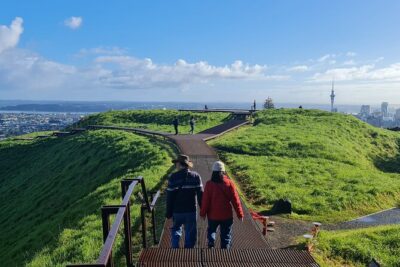
Mount Eden is the third major viewpoint, and it’s one of the most prominent volcanic cones in the Auckland region. The tour sets aside about 30 minutes here as well, and admission is free.
Why this one works: it’s the kind of Auckland “signature” that helps you see the city in layers—harbor areas, neighborhoods, and the volcanic shapes that define the skyline. The tour’s earlier stops set you up for it, and Mount Eden finishes the loop with one last strong angle.
This is also where weather matters most. Clouds and low visibility can flatten the view fast on volcanic lookouts. The good news is that the tour is designed as a highlights circuit—so even if conditions aren’t perfect, you still get education, skyline glimpses, and the other view stops.
Timing note: because you’re on a schedule, you’ll likely spend your time balancing walking/standing for photos with listening to the guide’s commentary. If you’re the kind of traveler who loves to chat and ask questions, this is a good place to do it—viewpoints provide natural pauses.
Price and logistics: is $108.60 good value for 3 hours?
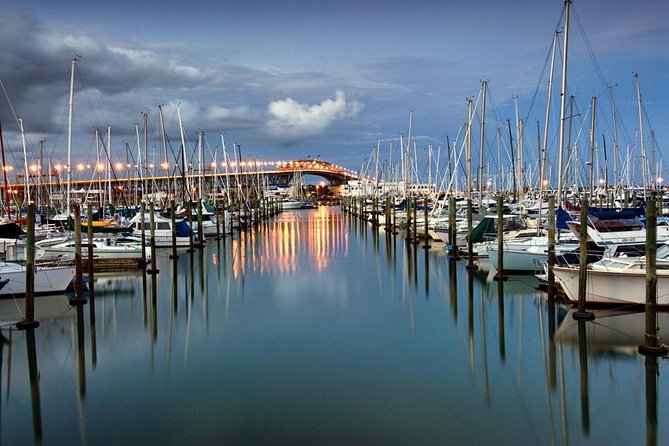
At $108.60 per person, you’re paying for a guided city loop with several paid-value elements already handled: professional driver/guide, hotel pickup and drop-off in Auckland City Center, air-conditioned vehicle, WiFi on board, and bottled water plus snacks.
You’re also getting the entry/stop costs handled—all entry tickets & guided tours are included, and the key viewpoint stops listed here are free admission anyway. That combination is part of the value story: you spend money once, then you spend your attention on sightseeing.
What you don’t get is lunch. That’s the one obvious “budget add-on” to plan for. If you’re doing this early in the day, you’ll likely be hungry afterward, so consider how you’ll handle the next meal once you’re back in the city.
Another detail that affects value: the group size is capped at 19 travelers. That’s big enough to feel social, small enough that you’re not stuck in a giant bus shuffle the whole time. Also, the tour needs a minimum of 4 people to run, which usually helps keep the operation stable once it starts.
In short, if your goal is to see the main viewpoints and coastline quickly with less friction, the price looks fair. If your goal is slow travel and deep exploration, you may want to pair it with other standalone activities.
What the included stops feel like in real life
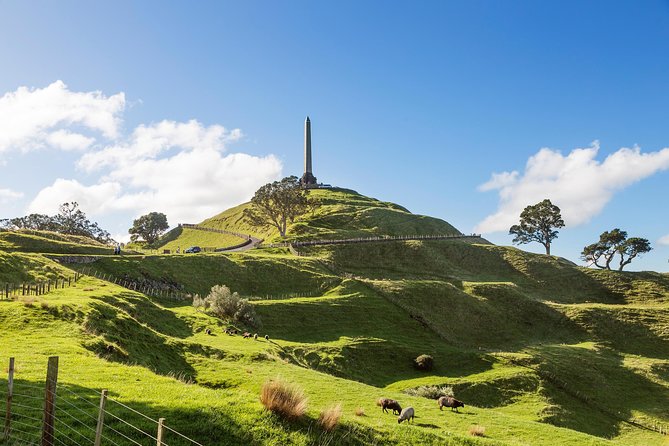
Even without long walks, this is not a “sit and stare” tour. You’ll be riding, looking, and occasionally stepping into spots designed for viewpoints.
Here’s the rhythm you should expect:
- Start with pickup and an orientation-style drive.
- Use the waterfront to catch the Harbour Bridge and skyline angles.
- Drive through Mission Bay for that beach-suburb feel.
- Spend your main time credits at the three viewpoint-heavy stops, each around 30 minutes.
This structure is good for travelers who want variety but hate wasting time searching for parking or trying to time a bus to a specific lookout. It’s also a decent choice if you’re on a cruise or have a tight schedule, because it’s a single, guided loop with return transportation included.
It can feel a bit “high concentration” on photo time, though. If you love long museum stays or long café breaks, you’ll probably want a separate day for that. This one is best for “see it, learn it, photograph it, move on.”
Guides, pacing, and who you’ll be traveling with
The tour is run by Auckland & Beyond Tours with a professional driver/guide. The guide experience matters here because the value is not only in views—it’s in what you learn while the vehicle connects the dots.
In past days on this route, the tour has been guided by people like Warren and Colin, and that matters because it signals a service style: friendly, courteous, and built around an easy flow of information. You can also see the pacing is designed to work for different needs. One example from what people describe: if someone has limited mobility, the guide can work around it. That’s not a guarantee, but it’s a good sign that the operation can be flexible.
Group size also shapes the feel. With a maximum of 19, you’re less likely to feel lost in a crowd. And because the stops are time-boxed, you won’t spend half your day waiting for a group photo.
Weather and photo strategy for Auckland’s volcanic viewpoints
Auckland’s weather can change quickly, and this tour is clear that it needs good weather. If conditions are poor, you’ll be offered a different date or a full refund.
What that means for you on the ground is simple: dress ready for temperature swings. Plan to look up often. When the clouds lift, the views can improve fast, especially from volcanic tops.
Photo strategy:
- Prioritize wide shots first, then switch to details.
- Keep your phone/camera charged before the viewpoint blocks.
- If visibility is limited, take a few shots anyway—sometimes partial views show the geography even better than perfect haze-free days.
Also, remember you’re juggling multiple lookouts. If you miss a “perfect” angle at one stop, you still have two more viewpoint chances before the tour ends.
Should you book Discover Auckland City Tour: The City of Sails?
Book it if:
- You want Auckland highlights in one morning/half-day with hotel pickup and drop-off.
- You like viewpoints and want to understand the city’s volcanic setting fast.
- You want a guide-led stop that includes Māori cultural heritage rather than only scenery.
Skip it or plan something else if:
- You already know Auckland’s viewpoints and want more time in neighborhoods, museums, or specialized experiences.
- You’re hoping for a long beach walk or a sit-down lunch break (lunch isn’t included, and the time blocks are tight).
My rule of thumb: if you’re time-limited and want the best chance of memorable views with minimal hassle, this is a solid, value-minded way to see Auckland’s core stories—harbor life, volcanic viewpoints, and Māori heritage—without turning your day into a logistics puzzle.
FAQ
How long is the Auckland City Tour?
It runs for about 3 hours.
Does the tour include hotel pickup and drop-off?
Yes. Hotel pickup and drop-off are included for Auckland City Center.
What does the price include?
It includes bottled water, snacks, WiFi on board, an air-conditioned vehicle, all taxes/fees, hotel pickup and drop-off, and entry tickets and guided tours.
Is lunch included?
No. Lunch is not included.
What languages is the tour offered in?
The tour is offered in English and Arabic.
How many people are in the group?
The tour has a maximum of 19 travelers, and it requires a minimum of 4 people to operate.
More Tours Around Auckland
- Waiheke Island: Ferry & Hop-On Hop-Off Explorer Bus Tickets
★ 4.6 · 3,311 reviews - Hobbiton & Waitomo Caves Guided Day Trip from Auckland incl lunch
★ 5.0 · 2,677 reviews - From Auckland: Hobbiton & Waitomo Caves Day Trip with Lunch
★ 4.9 · 2,505 reviews - Auckland Dolphin and Whale Watching Eco-Safari Cruise
★ 4.5 · 1,790 reviews - Skydive Auckland
★ 5.0 · 1,516 reviews
Seeing Auckland in a Day
- Waiheke Island: Ferry & Hop-On Hop-Off Explorer Bus Tickets
★ 4.6 · 3,311 reviews - Auckland Explorer: Sightseeing Hop-on Hop-off Tour
★ 4.0 · 1,180 reviews - Half-day Discover Auckland City Sightseeing Tour
★ 5.0 · 1,080 reviews - Auckland: Hop-On Hop-Off Explorer Bus Ticket
★ 4.4 · 1,064 reviews - Auckland Scenic Half-Day City Sightseeing Tour
★ 4.8 · 532 reviews
Fresh off the boat: newer Auckland tours to browse




Auckland City Sightseeing, compared.
 ★ 4.6Waiheke Island: Ferry & Hop-On Hop-Off Explorer Bus TicketsFrom $593,311 reviews
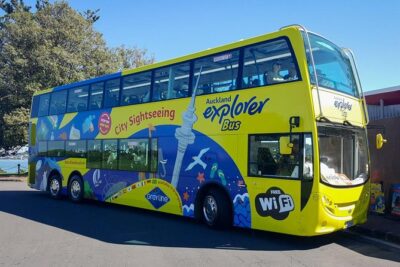 ★ 4.0Auckland Explorer: Sightseeing Hop-on Hop-off TourFrom $431,180 reviews
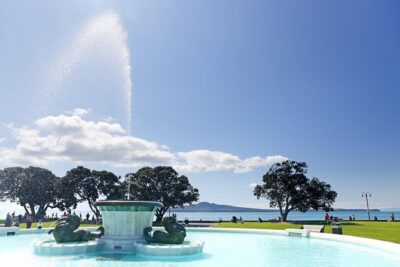 ★ 5.0Half-day Discover Auckland City Sightseeing TourFrom $461,080 reviews
 ★ 4.4Hop-On Hop-Off Explorer Bus TicketFrom $381,064 reviews
 ★ 4.8Auckland Scenic Half-Day City Sightseeing TourFrom $44532 reviews
 ★ 5.02025 Award Winning: Auckland City Highlights Half Day TourFrom $99516 reviews
 ★ 4.0Arrival Transfer: Auckland Airport to Auckland Central City CentreFrom $26493 reviews
 ★ 5.0Auckland Scenic Day Tour Full-Day- 8 HOURSFrom $133376 reviews
Browse the lists this tour appears in