
Reviewed · AUCKLAND CITY SIGHTSEEING
6 Hours Sightseeing Tour in Auckland
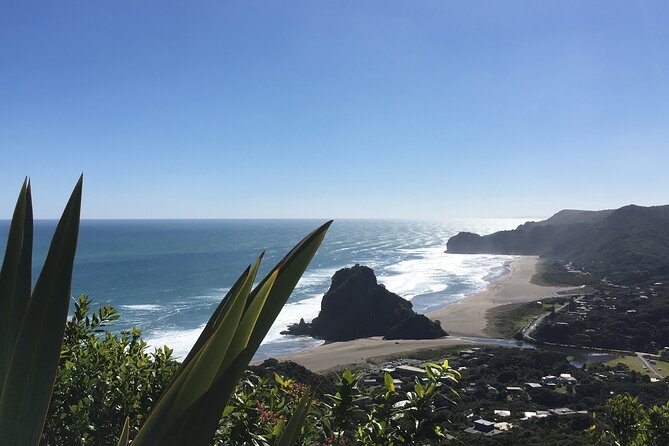
Black sand and volcano views in one run. This 6-hour Auckland tour gets you out of the city and onto the rugged west coast fast, with stops that feel like they belong to a nature documentary.
I really like that the tour uses a small group (max 9) and a comfortable air-conditioned private vehicle, so the day doesn’t feel jammed like bigger buses. I also like that the itinerary stacks in the big visuals first (Mount Eden crater and Piha’s coastline) and then caps it off with a winery tasting before you head back.
One thing to plan around: lunch is not included, and Piha walks depend on conditions—especially the tide for reaching spots like The Keyhole and The Gap.
In This Review
- Key highlights worth getting excited about
- Why this West Auckland loop feels like the right use of a short visit
- Price and what you’re really paying for (NZD-style value)
- Getting started at 148 Quay Street and what pickup feels like in practice
- Mount Eden crater: the best opening act for Auckland orientation
- Piha Beach: black sand, sea spray, and the Keyhole/The Gap walk (tide rules apply)
- Karekare Falls: a short hike that breaks up the coast
- Soljans Estate Winery and the included tasting: what lunch really means here
- The best kind of traveler for this day trip
- What to pack so the day feels effortless
- Weather reality: when plans still work
- So, should you book it?
- FAQ
- How long is the 6 Hours Sightseeing Tour in Auckland?
- What’s the price per person?
- Does the tour include lunch?
- Do I get picked up, or do I need to go to the meeting point?
- What stops are included?
- Is this tour for people who like walking?
- What happens if the weather is poor?
- How big is the group?
- Can I get a full refund if I cancel?
Key highlights worth getting excited about
- Max 9 travelers for a more personal pace and room to ask questions
- Air-conditioned private transport plus bottled water to keep the day comfortable
- Mount Eden volcano crater views with stories about Auckland’s volcano setting and early peoples
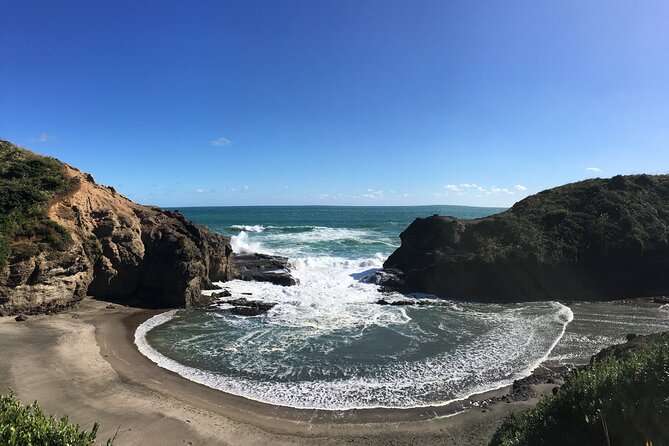
- Piha black-sand walking to viewpoints like The Keyhole and The Gap, tide permitting
- Karekare Falls short hike for a calmer, lush break from the coastline
- Soljans Estate Winery tasting included, with lunch available at your own expense
Why this West Auckland loop feels like the right use of a short visit
If you only have a day in Auckland, it’s easy to get stuck in the city loop. This tour fixes that by driving you west to a cluster of “Auckland at its wildest” spots, then keeping the walking manageable and the timing practical.
I like the structure: you start with height (Mount Eden) for instant orientation, then you move to coastline (Piha) for dramatic scenery, and finally you hit a waterfall area (Karekare Falls) before ending at the winery. It’s a logical flow that helps you see multiple sides of Auckland without needing to rent a car.
The tour is also a good fit for cruise passengers. Pickup is offered, and you return to the same meeting point at the end. That means less time figuring out transport and more time enjoying the actual places.
More ways to see Auckland in a day
- Waiheke Island: Ferry & Hop-On Hop-Off Explorer Bus Tickets
★ 4.6 · 3,311 reviews - Half-day Discover Auckland City Sightseeing Tour
★ 5.0 · 1,080 reviews - Auckland: Hop-On Hop-Off Explorer Bus Ticket
★ 4.4 · 1,064 reviews - Auckland Scenic Half-Day City Sightseeing Tour
★ 4.8 · 532 reviews
Price and what you’re really paying for (NZD-style value)
At $179.97 per person for about 6 hours, you’re paying for convenience plus guided interpretation. This isn’t just “transport to a beach.” You get a local guide, an air-conditioned private vehicle, bottled water, and a wine tasting included at the end.
Lunch costs extra, so you’re not buying a full meal deal. But you do get the tastings and time at multiple major stops in one day, which is often where self-guided plans lose value (you end up spending your day on logistics and driving).
For many people, the best value comes from the small group. With a max of 9 travelers, it’s easier to pause for photos, ask questions, and keep the pace from turning into a rush.
Getting started at 148 Quay Street and what pickup feels like in practice
You meet at 148 Quay Street, Auckland Central at 8:00 am, and the tour ends back at the meeting point. The schedule is built to start early, which is smart for a west-coast day—clearer light for views and less crowd pressure at viewpoints.
If you’re staying downtown or arriving by cruise, the pickup option can reduce stress. You’ll also use a mobile ticket, which keeps things simple at check-in.
The vehicle matters more than people think. This is an air-conditioned private vehicle, which helps on warmer days and keeps you comfortable between stops. Bottled water is included, so you’re not stuck buying drinks mid-drive.
One small planning note: the tour duration includes travel time, so even though it’s only 6 hours, you should expect time on the road. The good part is that the stops are close enough together to feel efficient.
Mount Eden crater: the best opening act for Auckland orientation
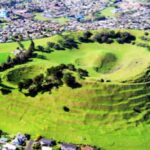
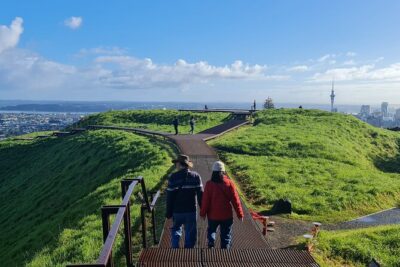
Your first stop is Maungawhau / Mount Eden, a volcanic viewpoint that instantly gives you context for Auckland’s geography. You’ll see the crater and learn how Auckland’s volcano story connects to the people who lived here first.
From a traveler’s point of view, this is a brilliant start because it “sets the map” in your head. Once you’ve seen the crater, the rest of the day—beach, forest, waterfall—feels less random. It becomes a tour of how this region shaped its land.
Time here is about 45 minutes, so it’s enough for photos and a slow look, but not so long that you feel trapped. Wear shoes with decent grip. Even though it’s not described as a long hike, crater viewpoints can involve uneven surfaces and short climbs.
A theme you’ll notice across guides in this tour style (people like Tracy, Harriet, and Jerome are specifically praised) is that the commentary isn’t just facts. It’s the kind of storytelling that helps you remember what you’re looking at.
Piha Beach: black sand, sea spray, and the Keyhole/The Gap walk (tide rules apply)
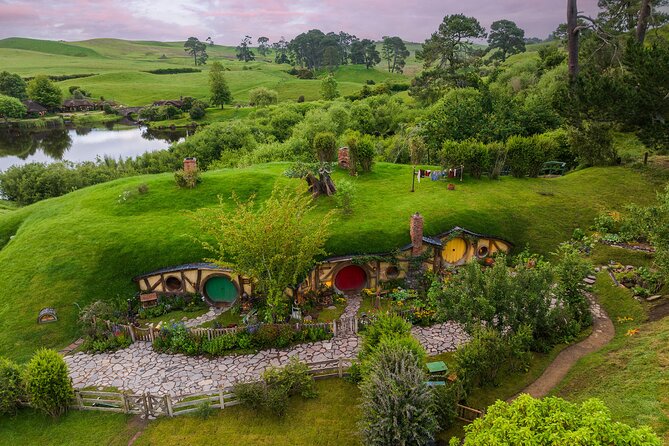
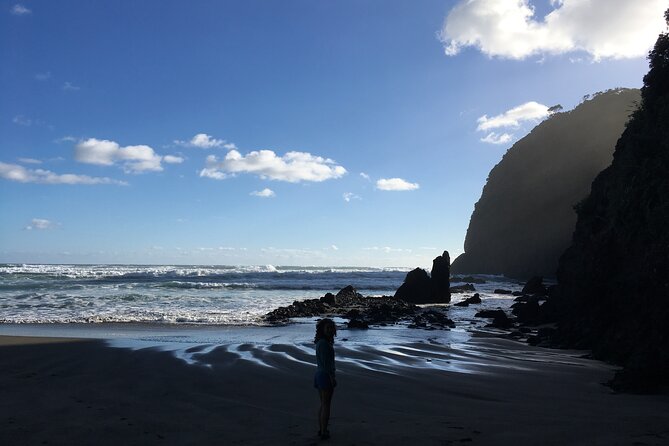
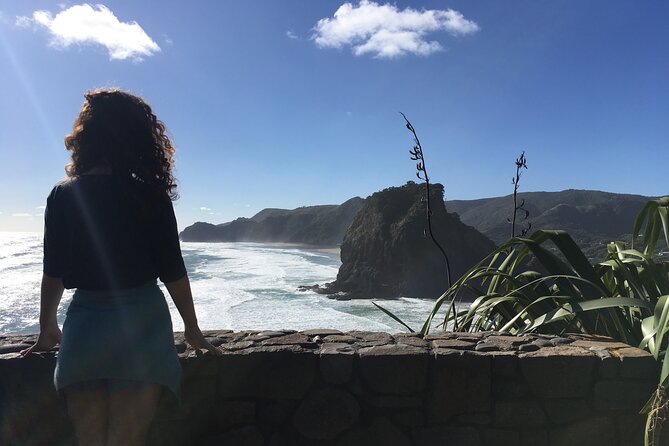
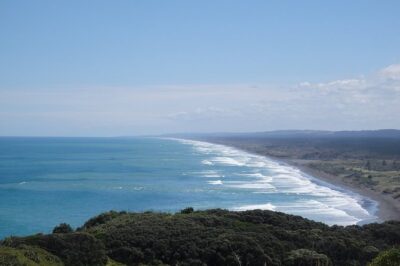
Next comes Piha Beach, and the first part is a lookout. You’ll take in the view before heading down. That approach is helpful: you understand the coastline before you start walking it.
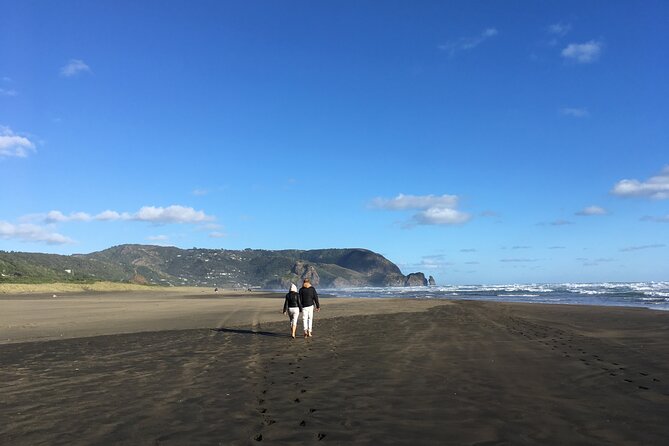
Then you move to the beach walk, aiming for areas like The Keyhole and The Gap, with the note that access depends on tide permitting. This is the main “watch the conditions” moment in the itinerary. If the tide is high, you may not be able to reach every point the same way.
The walking time is about 1 hour. It’s long enough to feel like you did something, but short enough to stay comfortable for most visitors with moderate physical fitness. If you’re sensitive to hills or uneven ground, it can help to plan for a slower pace and ask your guide about easier options.
What to bring to make Piha more enjoyable:
- Walking shoes you can trust on sand and rock
- A layer for wind (coast weather changes fast)
- If you like comfort, sandals can work for short stretches, but don’t swap out your main footwear if you’ll be climbing back up
Piha is the kind of place where the scenery does the talking. Black sand + rugged coastline is dramatic even without perfect weather, and it’s the stop most people use to judge the whole day.
Karekare Falls: a short hike that breaks up the coast
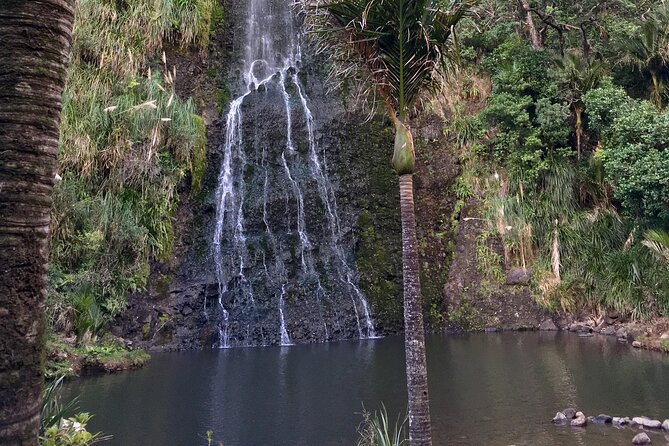
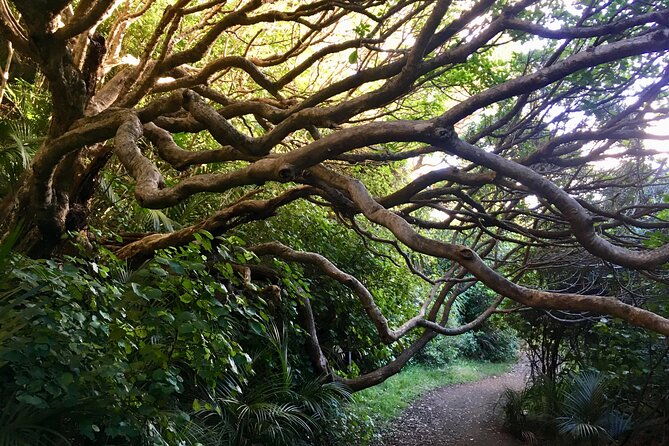
After Piha, you head to Karekare Falls. This part is a short hike—about 30 minutes—and it functions like a reset button. Where Piha is ocean power and wide views, Karekare is more about greenery and the sound of water.
The hike is described as short, but it still has the “out of city” feel: dirt paths, slope variation, and a chance to slow down. If you’re visiting Auckland when everything else feels urban and flat, this is a welcome change.
One practical benefit here is pacing. By the time you reach Karekare, you’ve already done crater views and beach walking. This waterfall stop keeps the day from feeling like constant movement.
Soljans Estate Winery and the included tasting: what lunch really means here
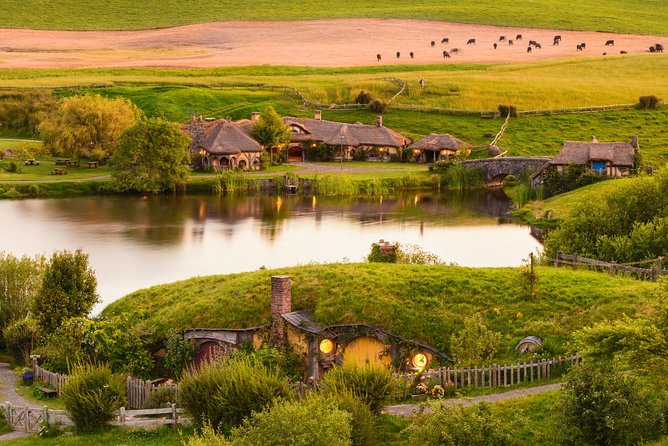
Your final stop is Soljans Estate Winery. You’ll get wine tasting as part of the tour, plus the chance to have lunch on-site (your own expense). The winery experience may also connect with Hallertau Brewery, depending on what you choose when you arrive.
The important detail: tasting is included, but lunch isn’t. So if you’re the type who needs a proper meal to enjoy the end of the day, plan for it.
The time here is about 1 hour, which is enough for tasting and a casual meal if tables are available. Some people note that lunch can be impacted by availability, so if you care a lot about getting the winery lunch, it’s smart to arrive hungry—because you can’t rely on earlier food stops during this tour format.
This is also where the guide’s tone can really help. Many passengers praise guides (including Harriet and Jerome) for timing and group management, which matters when you’re coordinating 8–9 people at a winery rather than in a big public dining room.
The best kind of traveler for this day trip
This fits you if you want:
- A guided way to see Auckland’s west side without car planning
- Major “wow” stops in a single morning-to-afternoon window
- A more personal feel than large group tours (max 9)
- Enough walking to feel like a real outing, but not a full multi-hour trek
It may not fit as well if:
- You hate driving time between stops (the tour includes travel in the 6 hours)
- You’re not comfortable with short hikes and uneven ground
- You want lunch included in the price (it isn’t)
If you’re traveling solo, the small group size also makes conversation easier without feeling forced.
What to pack so the day feels effortless
Even though the tour is only about 6 hours, you’re mixing crater paths, beach walking, and a short hike. So pack like it’s an active day, not a sightseeing bus ride.
Bring:
- Walking shoes (the beach and falls can be slippery or uneven)
- A light jacket or layer for wind at the coast
- Sun protection (coast + viewpoints can be bright)
- Water bottle backup if you’re the type who drinks a lot (water is included, but you might still prefer extra)
- Snacks if you’re the “I need food between stops” person
And if you’re planning your breakfast: I’d rather you eat a solid one. Lunch happens at the winery, and the itinerary doesn’t position it as an early meal.
Weather reality: when plans still work
This is a weather-dependent style of tour. The operator notes that it requires good weather, and if it’s canceled due to poor conditions, you’ll be offered a different date or a full refund.
In real life, that means it’s not “fantasy weather or nothing.” You can still have a great day even if it’s windy or rainy, but it’s the guide’s job to adjust what makes sense on the ground. A few passengers highlight that guides can shift timing when weather changes, which is exactly what you want for a day combining sea, viewpoints, and walking paths.
A practical tip: check forecasts the day before. If you can choose between dates, aim for calmer, clearer weather for Piha and the Mount Eden views.
So, should you book it?
If your goal is to see Mount Eden + Piha + Karekare Falls with minimal logistics, this tour is a strong yes. The small group size, air-conditioned private vehicle, and the fact that wine tasting is included make it feel like a well-built package rather than just a drive.
I’d especially book it if you’re short on time in Auckland, traveling as a couple or solo, or you don’t want to rent a car. It’s also a smart pick for cruise stops because the pickup and return make the day feel contained.
The only real “wait, think twice” factor is the lunch not being included and the tide-dependent Piha walking. If you’re okay planning around that—good breakfast, bring shoes, and stay flexible—you’ll likely end the day with exactly what you want from a west Auckland outing: views, coast, waterfalls, and a relaxed winery finish.
FAQ
How long is the 6 Hours Sightseeing Tour in Auckland?
It runs for about 6 hours total.
What’s the price per person?
The price is $179.97 per person.
Does the tour include lunch?
No. Wine tasting is included, but lunch is at your own expense at the winery/beer venue.
Do I get picked up, or do I need to go to the meeting point?
Pickup is offered, and the tour also has a start point at 148 Quay Street, Auckland Central (8:00 am). The tour ends back at the meeting point.
What stops are included?
You’ll visit Mount Eden, Piha Beach, Karekare Falls, and Soljans Estate Winery (with included wine tasting).
Is this tour for people who like walking?
You’ll do short walks, including time on Piha Beach and a short hike to Karekare Falls. The tour is described as suitable for travelers with moderate physical fitness.
What happens if the weather is poor?
The experience requires good weather. If it’s canceled due to poor weather, you’ll be offered a different date or a full refund.
How big is the group?
The maximum group size is 9 travelers.
Can I get a full refund if I cancel?
Yes. You can cancel up to 24 hours in advance for a full refund.
More Tours Around Auckland
- Waiheke Island: Ferry & Hop-On Hop-Off Explorer Bus Tickets
★ 4.6 · 3,311 reviews - Hobbiton & Waitomo Caves Guided Day Trip from Auckland incl lunch
★ 5.0 · 2,677 reviews - From Auckland: Hobbiton & Waitomo Caves Day Trip with Lunch
★ 4.9 · 2,505 reviews - Auckland Dolphin and Whale Watching Eco-Safari Cruise
★ 4.5 · 1,790 reviews - Skydive Auckland
★ 5.0 · 1,516 reviews
Seeing Auckland in a Day
- Waiheke Island: Ferry & Hop-On Hop-Off Explorer Bus Tickets
★ 4.6 · 3,311 reviews - Auckland Explorer: Sightseeing Hop-on Hop-off Tour
★ 4.0 · 1,180 reviews - Half-day Discover Auckland City Sightseeing Tour
★ 5.0 · 1,080 reviews - Auckland: Hop-On Hop-Off Explorer Bus Ticket
★ 4.4 · 1,064 reviews - Auckland Scenic Half-Day City Sightseeing Tour
★ 4.8 · 532 reviews
Fresh off the boat: newer Auckland tours to browse



Auckland City Sightseeing, compared.
 ★ 4.6Waiheke Island: Ferry & Hop-On Hop-Off Explorer Bus TicketsFrom $593,311 reviews
 ★ 4.0Auckland Explorer: Sightseeing Hop-on Hop-off TourFrom $431,180 reviews
 ★ 5.0Half-day Discover Auckland City Sightseeing TourFrom $461,080 reviews
 ★ 4.4Hop-On Hop-Off Explorer Bus TicketFrom $381,064 reviews
 ★ 4.8Auckland Scenic Half-Day City Sightseeing TourFrom $44532 reviews
 ★ 5.02025 Award Winning: Auckland City Highlights Half Day TourFrom $99516 reviews
 ★ 4.0Arrival Transfer: Auckland Airport to Auckland Central City CentreFrom $26493 reviews
 ★ 5.0Auckland Scenic Day Tour Full-Day- 8 HOURSFrom $133376 reviews
Browse the lists this tour appears in