
Reviewed · COROMANDEL & CATHEDRAL COVE
Cathedral Cove & Coromandel, Small-Group Tour from Auckland
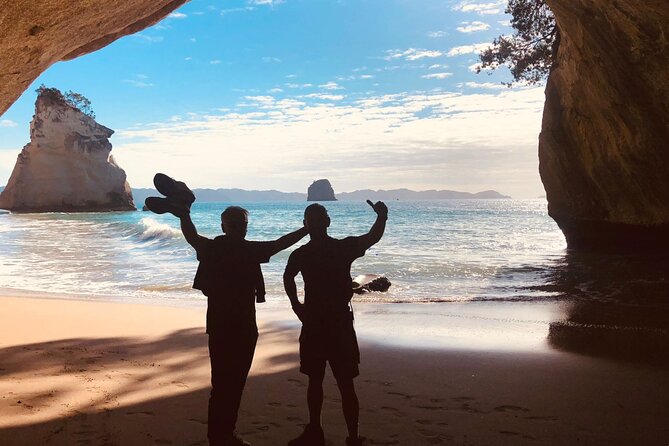
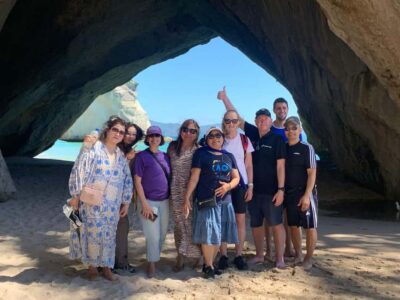
Cathedral Cove hits fast when you start early. This small-group Coromandel day trip gives you guided time at the coast without feeling stuck behind a bus schedule. I like that it caps at 15 travelers, so the guide can keep the day moving while still answering questions. I also like the human touch: guides can bring the region to life with stories and careful pacing, with examples like Pearl and John being especially good at keeping things fun and relaxed. One thing to consider is the walk demands—you need strong mobility for about 40 minutes over uneven terrain to and from Cathedral Cove.
From Auckland, you’re sent south through Waikato farm country, then pushed into the Coromandel Peninsula for beach views and short walking breaks. Expect a mix of iconic stops and flexible options depending on conditions, including a Cathedral Cove walk plus time at beaches such as Te Pare, Cooks Beach, and Lonely Bay. The day runs long (about 12 hours), and lunch is on your own, so you’ll want to plan for when you’ll eat.
In short, if you want an easy-to-follow plan, comfortable transport, and the big sights handled, this works well. If you’re not up for uneven paths or long drive time, you’ll feel it in your legs and your schedule.
In This Review
- Key Highlights That Matter on the Day
- A Fast Start From Auckland (6:30am) and a Full 12-Hour Day
- Waikato Farm Country En Route to the Coromandel
- Coromandel Peninsula: Scenic Stops and Short Walk Breaks
- Cathedral Cove Walk: Iconic Views, Uneven Terrain, Real Fitness Test
- Beaches After Cathedral Cove: Te Pare, Cooks Beach, and Lonely Bay
- Comfort and Logistics: What’s Included, What You Need to Add
- Price and Value: Why This Costs What It Costs
- Who This Tour Fits Best (and Who Might Skip It)
- Should You Book This Cathedral Cove Day Trip From Auckland?
- FAQ
- What time does the tour start from Auckland?
- How long is the Cathedral Cove & Coromandel tour?
- How many people are in the group?
- Does the tour include hotel pickup?
- What is included in the tour price?
- Is Cathedral Cove walking required?
- Should I bring swimwear and a towel?
- What happens if weather is poor?
Key Highlights That Matter on the Day
- Small-group pacing (max 15): fewer people means more space for questions and a calmer vibe at stops.
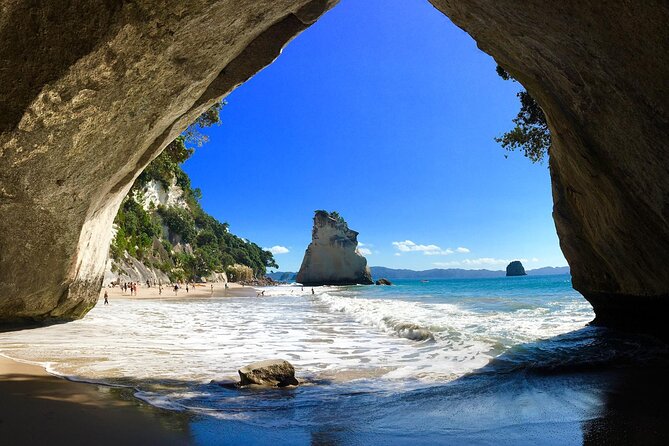
- Cathedral Cove walk is the core event: about 30–45 minutes each way within a total roughly 40-minute uneven-terrain round trip requirement.
- Comfort-focused transport: modern, comfortable minibuses plus bottled water and snacks.
- Stops adapt to conditions: beach choices like Te Pare, Cooks Beach, and Lonely Bay can shift based on the day.
- Strong guide energy: guides like Pearl and John are known for keeping the day engaging and caring.
- Early start keeps you off the crowds: 6:30am pickup helps you reach the peninsula with more daylight to spare.
A Fast Start From Auckland (6:30am) and a Full 12-Hour Day
This is a get-up-and-go tour. The start time is 6:30am, and you’re likely on the move for roughly 12 hours total, including travel and stops. That long day can feel like a lot at first, but it’s also why you get meaningful time at Cathedral Cove and at the Coromandel beaches without racing through everything.
If you choose to do this instead of DIY, the value is in the structure. You’re not timing drives, parking, or figuring out how to jump between Coromandel highlights in one day. The tradeoff is that your schedule is set for you. You’ll want to bring a phone battery plan and a light layer, because mornings can feel cooler than you expect.
Pickup is offered in select locations, and you’ll get a mobile ticket. If you’re near public transport, that’s helpful as a backup plan for meeting points, just in case your pickup option isn’t available where you’re staying.
More Coromandel and Cathedral Cove days out of Auckland
- From Auckland: Cathedral Cove & Hot Water Beach Tour
★ 4.6 · 33 reviews - Cathedral Cove & Hot Water Beach with Lunch from Auckland
★ 5.0 · 22 reviews - Coromandel Day Tour From Auckland
★ 5.0 · 18 reviews - Coromandel Coastal Experience – Small Group Tour from Auckland
★ 5.0 · 18 reviews
Waikato Farm Country En Route to the Coromandel
Before you even reach the coast, you get the benefit of an informed drive. You’ll head out of Auckland and your guide sets the stage with key landmarks and context about the region. Then the route shifts south through Waikato countryside, which is known for extensive farming.
This part matters more than you might think. By the time you hit the Coromandel Peninsula, you’re not seeing New Zealand as just scenery—you’re seeing it as a place with land use, rivers, and mountain views that shape how the coast feels. You also get time to settle in on the minibuses with bottled water and snacks while the guide keeps the drive interesting.
For your planning: this is not a short hop. You’ll spend time in transit, so it helps to pack something for comfort—like a light jacket and a way to keep warm if you get chilly in the early morning air.
Coromandel Peninsula: Scenic Stops and Short Walk Breaks
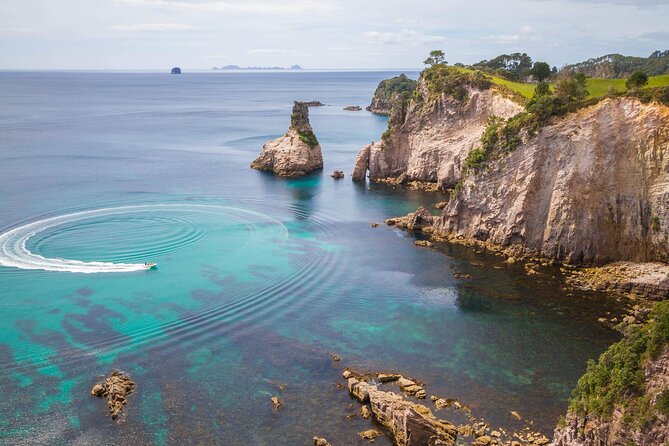
Once you enter the Coromandel Peninsula, the tour shifts into exploration mode. You’ll have several scenic stops with short walks and photo opportunities, focused on the peninsula’s mix of white-sand beaches and native forest areas.
These stops are a good reminder that the Coromandel isn’t just one postcard view. It’s a coastline with mood changes—cliffs, coves, and stretches of sand that look different as the day moves. The tour gives you quick moments to take it in without turning the day into a full-day hike.
The practical upside: if you’re not feeling your best in the morning, these shorter walks can be a win. The possible downside: if you’re the kind of traveler who wants one long uninterrupted beach block, the pacing might feel like more “stop-and-look” than “settle and stay.” That said, the pace is clearly designed to protect your energy for Cathedral Cove later.
Admission at these scenic stops is free, so there’s no added cost trap here. You’ll just need to be ready for uneven ground at various photo spots and track surfaces depending on conditions.
Cathedral Cove Walk: Iconic Views, Uneven Terrain, Real Fitness Test
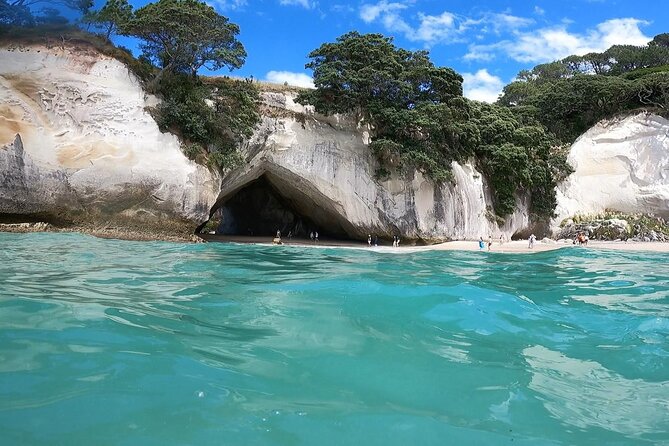
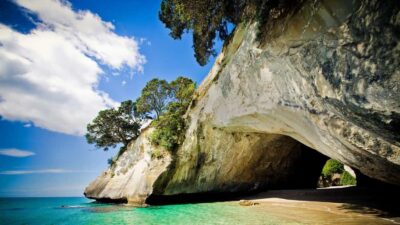
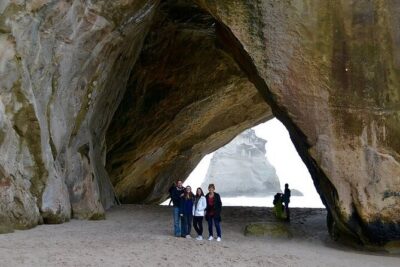
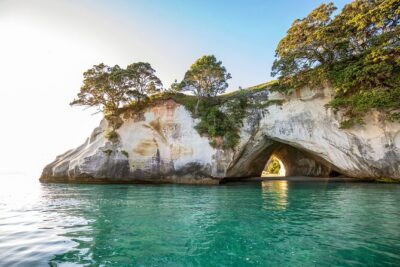
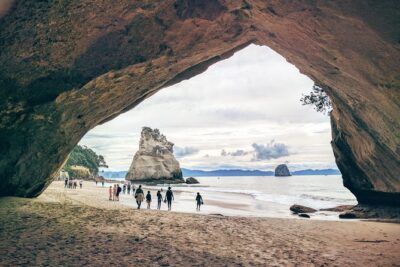
Cathedral Cove is the star stop, and the tour treats it like the main event. The walk to Cathedral Cove takes 30–45 minutes, and the day’s fitness requirement is described as a challenging 40-minute walk to and from Cathedral Cove over uneven terrain.
This is the one part you should not guess about. If you have any mobility limitations, slippery shoes risk, or you struggle on uneven ground, you should skip this specific tour. The terrain and timing are built into the experience, and you won’t be expected to do a flat stroll.
Here’s how to make it easier on yourself if you are a confident walker:
- Wear closed-in, sturdy footwear. Sand and uneven rock can turn a bad step into a bad day.
- Bring swimwear only if you’re ready to change after the walk, since you may want to swim if conditions allow.
- Expect tracks to be safer in good weather. If it’s been raining hard, you may need to follow guide instructions closely.
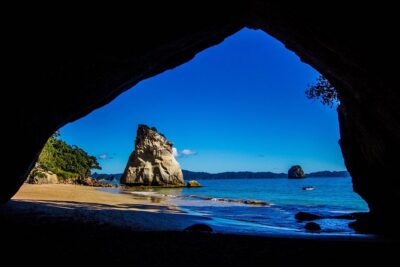
The reward is why people plan early for this. Cathedral Cove is an iconic natural landmark, and the views from the walk are the payoff—coastal drama with a classic New Zealand feel. You’ll also likely get a few moments for photos and a breath before the tour moves you on.


Beaches After Cathedral Cove: Te Pare, Cooks Beach, and Lonely Bay
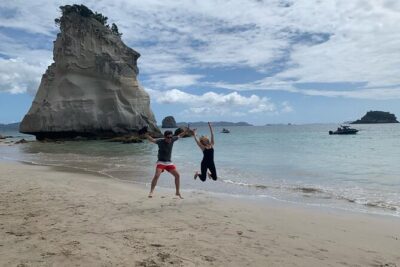
After Cathedral Cove, the afternoon turns into beach time. Your guide will lead you to beaches such as Te Pare, Cooks Beach, and Lonely Bay, depending on the day and conditions. Entrance is free for these stops, so your main decision is how much you want to do once you arrive: walk a bit, find a quiet spot, or swim if the sea conditions look safe.
This is where the tour becomes more flexible. You’re not locked into one beach only. The guide is planning for what will be enjoyable that day, which matters on a coast where weather and surf change fast.
If you want to actually relax, this is the stretch to do it. Take advantage of the fact that you’ll already have transport handled. You can focus on your own rhythm: a slow walk, a swim break, or just sitting with the views for a while.
One practical note: towels and swimwear aren’t included, so bring what you’d need if you want to use the beach time. Also, keep an eye on guide directions if the tracks are slippery. The tour notes that tracks may be unsafe during or after heavy rain, and alternative arrangements will be made when needed.
Comfort and Logistics: What’s Included, What You Need to Add
This tour is designed so you don’t have to overpack. You get fully guided small-group time, bottled water, and snacks throughout the day. You also get modern, comfortable minibuses with thoughtful extras for comfort and safety.
What you add is mostly about personal comfort:
- Closed-in, sturdy footwear is mandatory.
- Bring swimwear and a towel if you want to swim.
- Lunch is not included, so you’ll need to budget for food you buy on your own.
Because lunch is your expense, I recommend planning for it in your head before the day starts. You’ll have a long morning and an afternoon that can include beach time, so waiting too long to eat can make the last stretch feel heavier.
The tour also has a weather requirement. If conditions aren’t good, you’ll be offered a different date or a full refund. Tracks may be risky after heavy rain, so the guide’s job includes adapting to safety, not just following a script.
Price and Value: Why This Costs What It Costs
The price is $164.45 per person, and the average booking is made about 64 days in advance. On paper, that might sound steep if you’re thinking of a “simple day trip.” But the value is in what’s folded in: guided interpretation, transport, bottled water, snacks, and a major landmark walk where you’re not figuring out logistics.
You’re paying for convenience plus knowledgeable direction. If you attempted this on your own, you’d be spending time and money on driving, parking decisions, and route planning. You’d also be responsible for timing Cathedral Cove walk windows and managing the return without a built-in schedule.
The strongest value angle is the guide quality and the small-group size. When a tour keeps up to 15 people, it usually feels less like a cattle-car day and more like a guided outing where you can ask questions and get real care at stops. The fact that guides like Pearl and John are praised for entertaining, relaxed pacing, and looking after the group is a sign this isn’t just a checklist operation.
Who This Tour Fits Best (and Who Might Skip It)
This is a great fit if you:
- Want a guided day that covers Cathedral Cove and multiple Coromandel beach options.
- Can handle uneven terrain and are comfortable walking for about 40 minutes round-trip on challenging ground.
- Prefer small-group transport and a structured plan over DIY logistics.
You might want to skip it if you:
- Have mobility difficulties or limited ability to manage uneven terrain.
- Need fully flat, easy walking routes.
- Don’t like long early starts or long drive days.
Children have specific requirements too. If you’re traveling with kids aged 7 and under, they must use a child safety seat. You can bring your own or hire one for NZ$20 with 24 hours’ notice.
Should You Book This Cathedral Cove Day Trip From Auckland?
Book it if you want the Coromandel highlights handled for you, with a guide who keeps the day moving and the group comfortable. The combination of Cathedral Cove’s iconic walk plus afternoon beach time is exactly the kind of “one day well spent” itinerary that saves you hassle.
Skip or look for alternatives if the uneven terrain is a concern. The walk is not framed as an easy stroll, and safety depends on your ability to move confidently on uneven tracks.
If you’re on the fence, here’s the decision shortcut: if you can comfortably do a 40-minute uneven walk and you don’t mind a long day starting at 6:30am, this is strong value for a guided, small-group experience.
FAQ
What time does the tour start from Auckland?
The tour start time is 6:30am.
How long is the Cathedral Cove & Coromandel tour?
It runs for about 12 hours (approx.).
How many people are in the group?
The maximum group size is 15 travelers.
Does the tour include hotel pickup?
Hotel pickup is offered at select locations.
What is included in the tour price?
Included are a fully guided small-group tour, bottled water, snacks, and Cathedral Cove admission for the walk portion. Lunch is not included.
Is Cathedral Cove walking required?
Yes. The Cathedral Cove walk takes about 30–45 minutes, and the experience includes a challenging walk over uneven terrain for about 40 minutes to and from Cathedral Cove.
Should I bring swimwear and a towel?
Yes, bring them if you want to swim. Towels and swim wear are not included.
What happens if weather is poor?
This experience requires good weather. If it’s canceled due to poor weather, you’ll be offered a different date or a full refund.
More Tours Around Auckland
- Waiheke Island: Ferry & Hop-On Hop-Off Explorer Bus Tickets
★ 4.6 · 3,311 reviews - Hobbiton & Waitomo Caves Guided Day Trip from Auckland incl lunch
★ 5.0 · 2,677 reviews - From Auckland: Hobbiton & Waitomo Caves Day Trip with Lunch
★ 4.9 · 2,505 reviews - Auckland Dolphin and Whale Watching Eco-Safari Cruise
★ 4.5 · 1,790 reviews - Skydive Auckland
★ 5.0 · 1,516 reviews
The Coromandel, One Cove at a Time
- Auckland: Cathedral Cove and Coromandel Small Group Tours
★ 4.8 · 185 reviews - From Auckland: Cathedral Cove & Hot Water Beach Tour
★ 4.6 · 33 reviews - Cathedral Cove & Hot Water Beach with Lunch from Auckland
★ 5.0 · 22 reviews - Coromandel Day Tour From Auckland
★ 5.0 · 18 reviews - Coromandel Coastal Experience – Small Group Tour from Auckland
★ 5.0 · 18 reviews
Fresh off the boat: newer Auckland tours to browse




Coromandel & Cathedral Cove, compared.
 ★ 4.8Cathedral Cove and Coromandel Small Group ToursFrom $155185 reviews
 ★ 4.6Cathedral Cove & Hot Water Beach Tour33 reviews
 ★ 5.0Cathedral Cove & Hot Water Beach with Lunch from AucklandFrom $16122 reviews
 ★ 5.0Coromandel Day Tour From AucklandFrom $28418 reviews
 ★ 5.0Coromandel Coastal Experience – Small Group Tour from AucklandFrom $018 reviews
 ★ 5.0Private Tour – Coromandel Beach, Caves & ForestFrom $58913 reviews
 ★ 5.0Cathedral Cove and Hot Water Beach Scenic Day Tour from AucklandFrom $37212 reviews
 ★ 5.0Cathedral Cove Day Trip from AucklandFrom $24211 reviews
Browse the lists this tour appears in